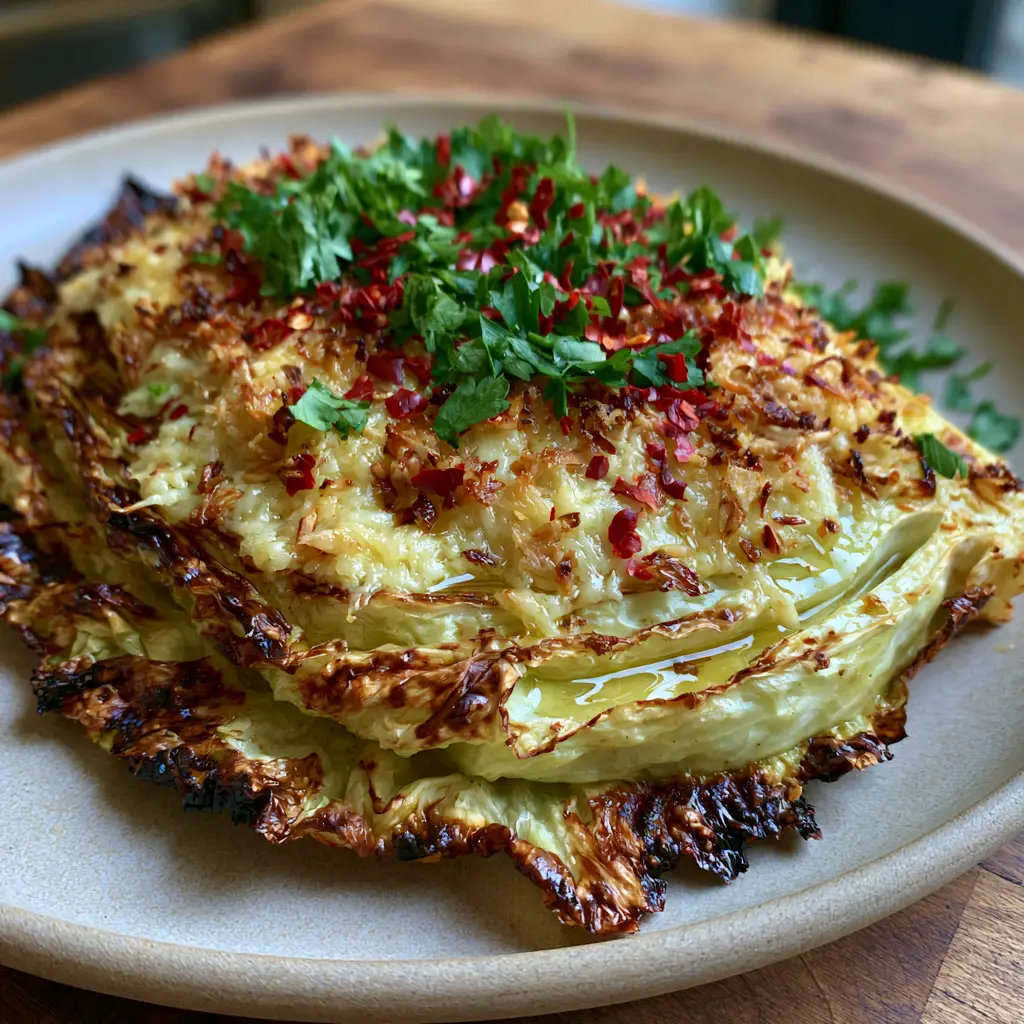
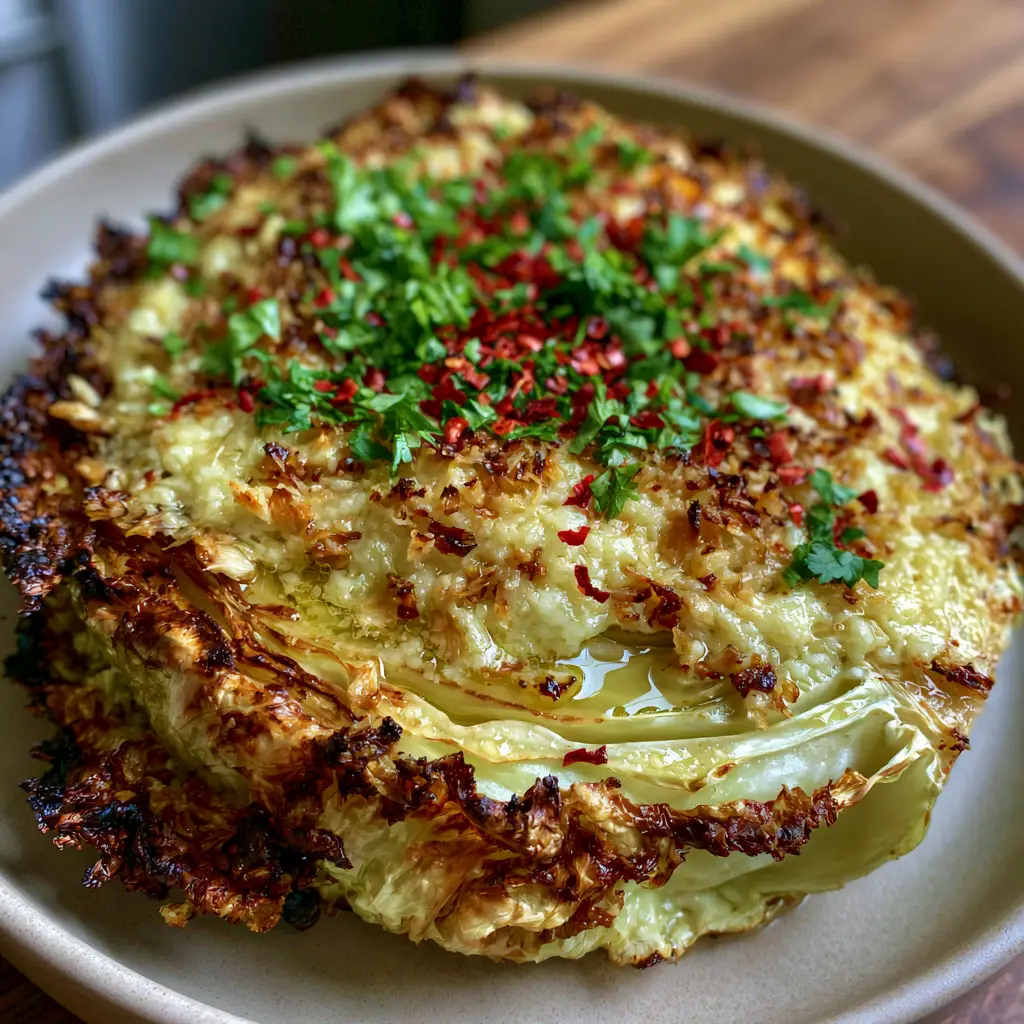
When you first see these roasted cabbage steaks emerging from the oven, you might mistake them for a decadent steakhouse side. They feature deep golden-brown charred, crispy outer edges and a soft, succulent pale-green center that melts in your mouth. This isn’t just a vegetable dish; it is a masterclass in texture and flavor layering, designed to turn the humble cabbage into a gourmet centerpiece.
The top of each steak is heavily crusted with a bubbling, melted layer of golden parmesan cheese and toasted minced garlic bits. As you pull the tray out, a visible drizzle of glistening garlic butter oil pools in the natural ridges of the cabbage. Topped with a generous scatter of bright green chopped fresh parsley and vibrant red chili flakes, these roasted cabbage steaks are a visual and culinary triumph.
Whether you are looking for a low-carb alternative to traditional sides or simply want to elevate your vegetable game, this recipe delivers. The natural morning side-light from a window often highlights the oily sheen of the parmesan, making it look as appetizing as it tastes. Let’s dive into how to achieve that perfect, shallow depth of field-worthy crust every single time.
Why These Savory Cabbage Slabs Work Every Time
- The Maillard Magic: High-heat roasting transforms the natural sugars in the cabbage into a complex, sweet, and nutty profile with crispy, charred edges.
- Textural Contrast: You get a crunch from the bubbling parmesan crust, a snap from the toasted garlic, and a tender, buttery interior.
- Aromatic Depth: The combination of fresh minced garlic and melted butter creates a “glistening” finish that carries the heat of red chili flakes and the freshness of parsley.
- Budget-Friendly Elegance: This recipe uses humble ingredients to create a sophisticated handheld-style dish that feels luxurious on a matte ceramic plate.
The Anatomy of the Perfect Roasted Cabbage Steaks
To achieve the specific visual of a single, thick-cut roasted green cabbage steak, you need the right foundational ingredients. Each component serves a scientific and aesthetic purpose in the final build.
One Large Head of Green Cabbage: You want a dense, heavy cabbage. The leaves must be tightly packed to ensure the “steak” holds its structure during the flipping and roasting process.
Extra Virgin Olive Oil: This is your foundational “invisible” ingredient. It coats the cabbage fibers, conducting heat evenly to ensure those edges become deep golden-brown rather than just burnt.
Unsalted Butter (Melted): 4 tbsp (60g) of butter creates that glistening garlic butter drizzle mentioned in the blueprint. Butter adds a richness that olive oil alone cannot achieve.
Fresh Garlic: 4 cloves, finely minced. We use fresh garlic because the moisture content allows it to “toast” rather than burn immediately, resulting in those specific toasted minced garlic bits.
Parmesan Cheese: 1/2 cup (50g) of finely grated Parmesan. This creates the “heavily crusted” bubbling top that defines the dish’s savory profile.
The Garnish Trio: Fresh flat-leaf parsley for brightness, red chili flakes for a vibrant pop of color and heat, and cracked black pepper for a sharp, earthy finish. These are the “visual finishers” that bridge the gap from a simple roast to a gourmet meal.
If you enjoy the hearty nature of this dish, you might also love my fried cabbage with sausage for a faster weeknight meal. Both recipes celebrate the versatility of the brassica family.
Essential Kitchen Tools for the Golden Crust
To replicate the professional “home cooking” look of our Midjourney prompt, you need a few specific tools. A heavy-duty rimmed baking sheet is non-negotiable for even heat distribution.
A sharp Chef’s knife is required to cut clean, 1-inch (2.5cm) thick slabs without shredding the leaves. If the knife is dull, the cabbage will tear, and you won’t get that “single, thick-cut” steak appearance.
Using a silicone pastry brush allows you to paint the garlic butter oil into the natural ridges of the cabbage. This ensures the seasoning penetrates deep into the core rather than just sitting on top.
How to Prep the Ultimate Green Cabbage Slabs
Step 1: The Precision Slice
Start by removing any wilted or damaged outer leaves from the cabbage. Place the cabbage on a stable cutting board and slice about 1/2 inch (1.25cm) off the bottom to create a flat base.
Stand the cabbage upright and cut it into 1-inch (2.5cm) thick slices. Ensure the core remains intact in each slice; the core is the “glue” that keeps your roasted cabbage steaks from falling apart into a mess of sautéed leaves.
Step 2: The Foundational Seasoning
Preheat your oven to 400°F (200°C). Arrange the cabbage slabs on a parchment-lined baking sheet, ensuring they do not touch. This allows air to circulate, creating those charred crispy leaf edges.
Brush both sides with 2 tbsp (30ml) of olive oil and a generous pinch of sea salt. The salt draws out just enough moisture to allow the center to become soft and succulent while the edges crisp up.
Step 3: The First Roast (The Maillard Phase)
Slide the tray into the center of the oven. Roast for 20-25 minutes. You are looking for a specific sensory cue: the edges should be curling and turning a dark amber, and the kitchen should smell intensely nutty.
Flip the steaks halfway through using a wide spatula. Be gentle; we want to maintain the “steak” integrity for that final presentation on the ceramic plate. If you find yourself craving more garlic-forward sides, consider pairing these with my garlic butter orzo.
Step 4: The Parmesan and Garlic Encrusting
While the cabbage roasts, mix your melted butter with the minced garlic. Once the cabbage is tender, remove the tray and brush the tops generously with the garlic butter. If you’re a fan of rich, savory profiles, this reminds me of the topping on my easy pizza recipe.
Mound the grated parmesan cheese onto each steak. Don’t be shy; we want a “heavily crusted” effect. Return to the oven or turn on the broiler for 2-3 minutes until the cheese is bubbling and golden-brown.
Sensory Cues for a Perfect Roast
As an elite recipe developer, I look for three specific signs that the roasted cabbage steaks are ready. First, the Sound: You should hear a light sizzling as the butter pools in the ridges.
Second, the Visual: The cheese should not just be melted; it should have small brown spots (leopard spotting) and the garlic bits should look like toasted gold. Third, the Touch: A knife should slide into the pale-green center with zero resistance, like butter.
This attention to detail is what makes a recipe go from “good” to “viral.” For another dish that masters the art of the savory crust, check out my Chicken Christopher recipe, which uses a similar buttery garlic finish.
Expert Tips for Success
- Don’t Overcrowd: If the steaks are too close, they will steam instead of roast. Use two pans if necessary to get those charred edges.
- The Core is Key: Never cut out the core before roasting. It provides the structural integrity needed to serve these as “steaks.”
- Fresh Grated is Best: Pre-shredded parmesan contains cellulose (an anti-clumping agent) which prevents it from melting into that “bubbling, glistening” layer we want.
- Adjust Your Rack: If your oven runs cold, roast on the bottom rack for better charring on the bottom of the steak.
What to Serve with Roasted Cabbage Steaks
These steaks are incredibly versatile. They serve as a brilliant low-carb side for a heavy protein or can be the star of a vegetarian lunch. I often serve them alongside a warm bowl of Italian chicken soup for a comforting winter meal.
Because of the garlic butter and parmesan, they also pair beautifully with pasta dishes. Try serving a smaller wedge next to my creamy pasta with sweet peas and crispy pancetta to add a roasted, earthy element to the plate.
If you’re taking these for a desk lunch, they reheat surprisingly well in a portable lunch warmer or an electric lunch box, which keeps the cabbage from getting soggy in a microwave.
Frequently Asked Questions
While they are best fresh from the oven, you can roast them ahead and store them for 2-3 days. Reheat under the broiler to bring back the crispiness of the parmesan crust.
Yes, purple cabbage works beautifully! It is slightly denser and may require an extra 5 minutes of roasting time, but it offers a stunning visual and similar sweet flavor.
The secret is to keep the core intact. When slicing the cabbage into 1-inch steaks, ensure each piece includes a cross-section of the core, which acts as the ‘glue’ for the leaves.
400°F (200°C) is the sweet spot. It is high enough to create the Maillard reaction (charring) on the edges before the center becomes overly mushy.
Soggy cabbage usually happens from overcrowding the pan. Ensure there is at least an inch of space between each steak so the moisture can evaporate and the edges can char.
The Ultimate Roasted Cabbage Steaks Recipe
Roasted Cabbage Steaks with Garlic Butter and Parmesan Crust
Ingredients
Equipment
Method
- Preheat oven to 400°F (200°C). Slice green cabbage into 1-inch (2.5cm) thick steaks, keeping the core intact for structure.
- Place steaks on a baking sheet. Brush both sides with olive oil, salt, and pepper. Roast for 20-25 minutes, flipping once, until edges are charred and crispy.
- Mix melted butter and minced garlic. Brush onto the roasted cabbage. Mound parmesan cheese on top and broil for 2-3 minutes until bubbling and golden-brown.
- Remove from oven and sprinkle with red chili flakes and fresh parsley. Serve immediately on a ceramic plate.
Notes
For a crispier crust, use freshly grated Parmesan rather than canned.
Closing & Call to Action
These roasted cabbage steaks prove that with the right technique, even the most basic vegetables can become a culinary masterpiece. The combination of the “toasted minced garlic” and the “bubbling parmesan” creates an umami bomb that will have everyone asking for seconds. It is a dish that looks as good as it tastes—perfect for your next dinner party or a quiet, cozy night in.
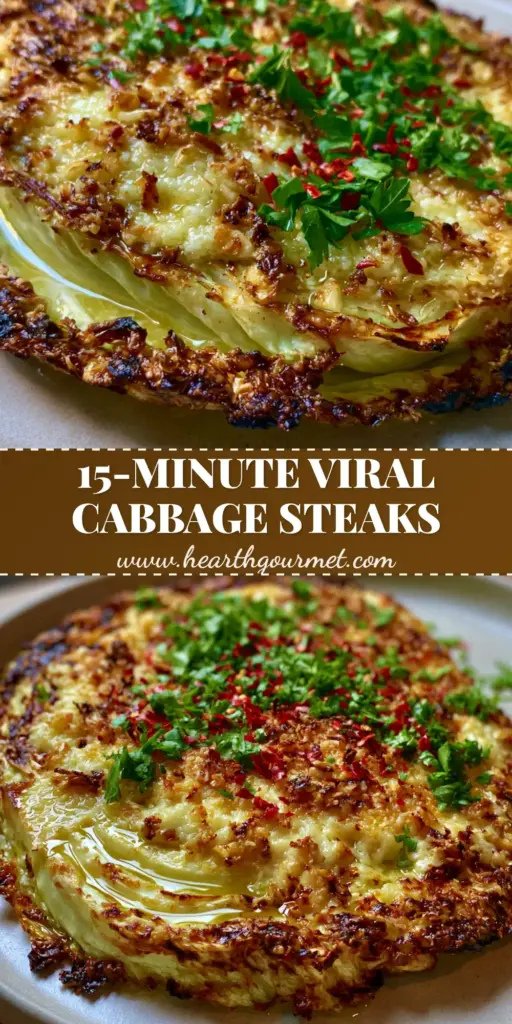
If you made this recipe, I would love to hear about it! Did you get those perfectly charred edges? Leave a comment below and let me know. Don’t forget to follow me on Pinterest and pin the image below to your “Healthy Dinners” board!