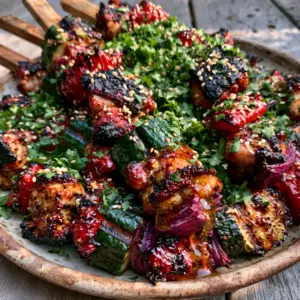
When the golden hour hits and the air carries that unmistakable scent of charcoal, you know it is time to break out the best summer grilling recipes. There is something primal and deeply satisfying about the sizzle of marinated meat hitting a scorching hot grate. Today, we are crafting a dish that is as visually stunning as it is delicious: Gourmet Honey Garlic Chicken Skewers with charred summer vegetables.
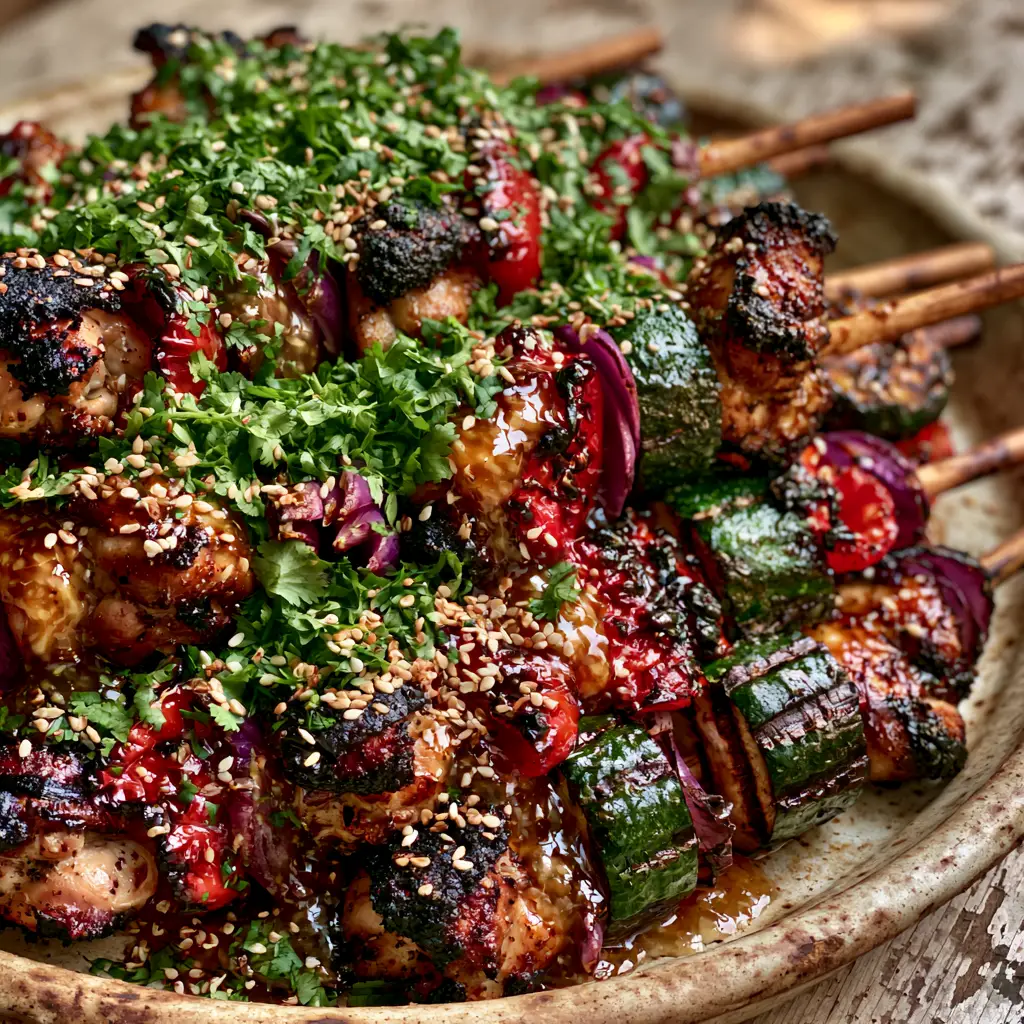
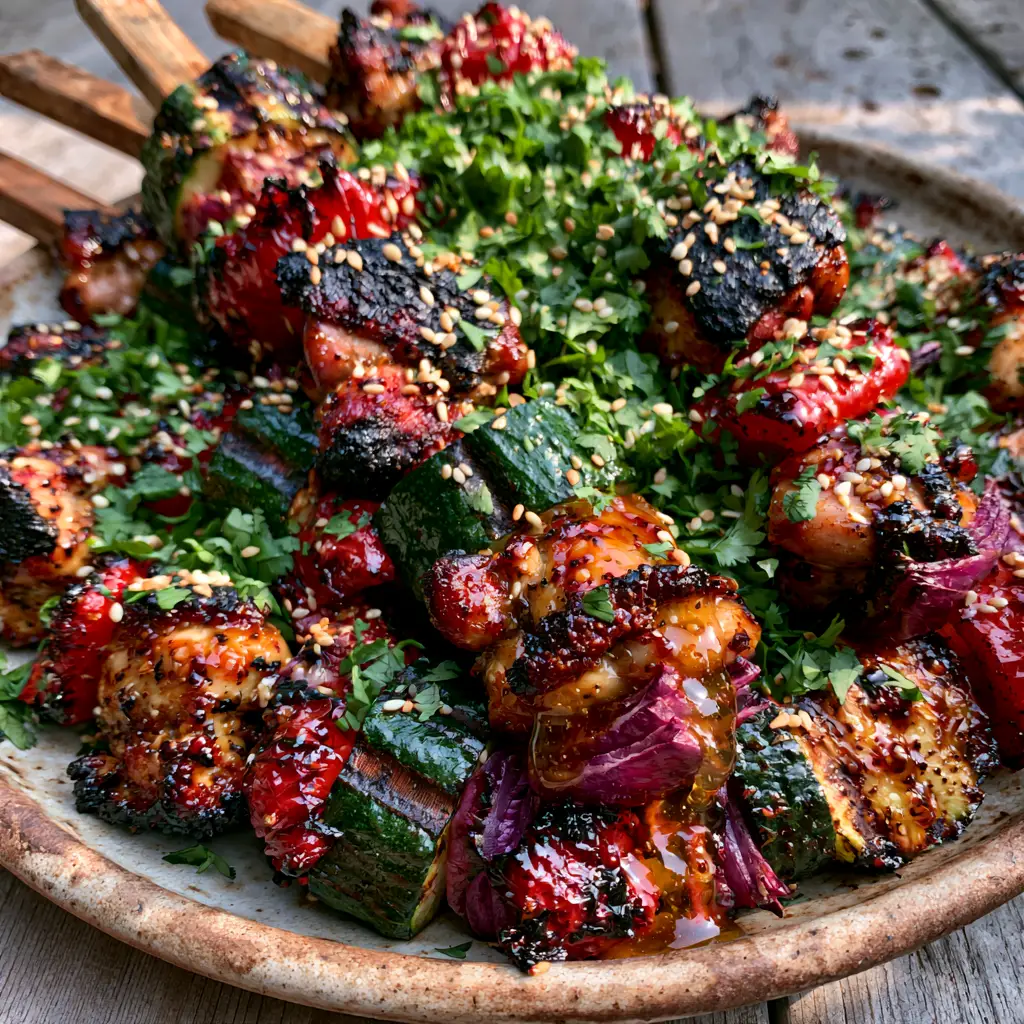
Imagine a rustic ceramic platter piled high with juicy chicken thigh chunks, their edges crisped to a deep mahogany brown. Nestled between the meat are vibrant red bell peppers with perfectly blistered skins and thick zucchini rounds marked by bold, smoky grill ridges. This isn’t just a meal; it’s a celebration of seasonal textures and the transformative power of high-heat cooking.
The star of the show is a shimmering golden-amber honey garlic glaze that clings to every crevice of the chicken. As it hits the heat, the sugars caramelize, creating a sticky, glossy finish that catches the warm afternoon light. Finished with a heavy scattering of fresh cilantro and toasted sesame seeds, this recipe is designed to be the centerpiece of your next outdoor gathering.
Why This Grilled Chicken Platter Captivates Every Senses
- Textural Contrast: Experience the interplay between the crispy, seared edges of the chicken thighs and the softened, tender “petals” of purple red onion.
- Maillard Magic: The high heat creates deep dark brown sear marks that provide a complex, savory depth to the honey-sweetened glaze.
- Vibrant Visuals: From the bright green zucchini ridges to the blistered red peppers, the color palette is a literal garden on a skewer.
- Glossy Umami Finish: A thick, shimmering glaze that provides a professional, “gourmet” look right in your own backyard.
Essential Components for the Ultimate Summer Platter
To achieve the specific results shown in our visual blueprint, each ingredient serves a structural and flavor-based purpose. We don’t just want food on a stick; we want a culinary masterpiece.
Boneless Skinless Chicken Thighs (1.5 lbs / 680g): Unlike breasts, thighs contain enough intramuscular fat to withstand high heat without drying out, ensuring those juicy chunks we crave. Cut them into uniform 1.5-inch (4cm) pieces to ensure even cooking across the entire skewer.
Red Bell Peppers (2 large): These provide a sweet, crunch-tender element. When grilled, the skin separates slightly and “blisters,” concentrating the natural sugars and adding a hint of bitterness that balances the honey.
Zucchini (2 medium): Look for firm, bright green zucchini. Cutting them into thick 1-inch (2.5cm) rounds ensures they develop deep charred ridges while maintaining a structural “bite” in the center.
Red Onion (1 large): We use the “petal” method here, peeling away the layers of the onion. These thin purple layers soften beautifully on the grill, adding a mellow sweetness and a pop of royal color.
Raw Honey (1/2 cup / 120ml): This is the foundation of our shimmer. Honey has a lower burning point than granulated sugar, which helps create that “shimmering golden-amber” look quickly as the skewers finish.
Fresh Garlic (4 cloves, minced): To achieve the “honey garlic” profile, fresh cloves are non-negotiable. They infuse the glaze with a pungent aroma that mellows into a savory nuttiness when exposed to the flame.
Toasted Sesame Seeds & Fresh Cilantro: These are the “forensic” garnishes that elevate the dish. The seeds add a tiny crunch and earthy aroma, while the bright green cilantro provides a burst of freshness against the heavy glaze.
High-Smoke Point Oil (2 tbsp / 30ml): Essential for the initial sear. Use avocado or grapeseed oil to coat the vegetables and meat, preventing sticking and facilitating those dark brown sear marks.
The Tools You Need for Professional Grilling Results
Achieving the look of a gourmet food blog requires the right equipment. You will need a sturdy set of wooden skewers—be sure to soak them in water for at least 30 minutes to prevent them from splintering or catching fire under the high heat.
A heavy-duty grill brush is essential for cleaning your grates before you start. Clean grates are the only way to get those “thick green zucchini rounds with charred grill ridges” without the vegetables tearing. You’ll also need a high-quality basting brush to apply the thick glaze during the final minutes of cooking.
If you find yourself prepping these indoors before heading to the patio, an electric lunch box can be a surprisingly handy tool for keeping prepped ingredients at the right temperature or transporting marinated chicken safely.
Step-by-Step Architecture of the Perfect Skewer
Phase 1: Preparing the Honey Garlic Varnish
In a small saucepan over medium heat, whisk together your honey, minced garlic, a splash of soy sauce (for that amber color), and a pinch of cracked black pepper. Let it simmer gently for 3-5 minutes until it reduces slightly and coats the back of a spoon. It should look like liquid gold—thick, shimmering, and ready to cling to the meat.
Phase 2: The Art of the Skewer Assembly
Thread your ingredients onto the soaked wooden skewers with intention. Start with a sturdy chunk of chicken, followed by a red pepper chunk, a zucchini round, and two purple onion petals. Repeat this pattern, leaving a small gap between each item to allow the heat to circulate. This airflow is what creates the “crispy edges” rather than steaming the meat.
Phase 3: Searing for Maximum Maillard Reaction
Preheat your grill to medium-high heat (about 400°F / 204°C). Lightly oil the grates. Place the skewers down and leave them undisturbed for 4-5 minutes. You are looking for a “deep dark brown sear” that releases easily from the grate. If the meat sticks, it isn’t ready to turn yet. Flip and repeat on all sides until the chicken reaches an internal temperature of 160°F (71°C).
Phase 4: The Final Glaze and Blister
During the last 2 minutes of grilling, generously brush the honey garlic glaze over all sides of the skewers. The sugars will begin to bubble and “shimmer” almost instantly. Watch for the red peppers to start “blistering”—you will see the skin puff up and darken. Remove from the heat immediately to prevent the honey from scorching to a bitter black.
Phase 5: The Forensic Finishing Touches
Transfer the skewers to a rustic ceramic platter. While the glaze is still hot and tacky, scatter a heavy handful of toasted white sesame seeds and a rain of freshly chopped cilantro over the top. The residual heat will release the oils in the cilantro, creating a fragrant steam that signals the meal is ready.
Expert Tips for Summer Grilling Success
- Don’t Crowd the Skewer: If you pack the ingredients too tightly, the centers will remain raw while the outsides burn. Give each ingredient “room to breathe” to ensure those charred ridges develop.
- Temperature Control: Chicken thighs are forgiving, but they are best pulled at 165°F (74°C). Use an instant-read thermometer to avoid guesswork.
- The “Glaze Window”: Always apply honey-based glazes at the very end. If you apply them too early, the high sugar content will burn into a charcoal-like crust before the chicken is cooked through.
- Resting Period: Let the skewers rest on the ceramic platter for 5 minutes before serving. This allows the juices to redistribute within the chicken thighs, ensuring every bite is “juicy” as described.
Refreshing Pairings for Your Grilled Feast
These skewers are a complete meal on their own, but they truly shine when served alongside other summer grilling recipes. To stay within the bright, seasonal theme, consider serving them with a vibrant elote pasta salad that mimics the charred corn flavors of summer.
If you are looking for a more Mediterranean vibe, a side of garlic butter orzo provides a silky, buttery base that soaks up the extra honey garlic glaze beautifully. For those who enjoy a bit of heat, pairing these skewers with Tex-Mex favorites like grilled street corn or a spicy salsa verde creates a fantastic fusion of flavors.
Frequently Asked Questions About Grilling Skewers
You can, but thighs are preferred for high-heat grilling. The higher fat content in thighs prevents them from drying out, ensuring the ‘juicy chunks’ described in this recipe remain tender even with deep sear marks.
Look for the skin to puff up and develop small black or dark brown bubbles. This visual cue indicates the skin has separated from the flesh, resulting in a sweeter, more concentrated flavor.
The secret is timing. Because honey has a high sugar content, apply the glaze only during the final 2 minutes of grilling. This allows it to thicken and shimmer without turning bitter or black.
Soak wooden skewers in water for at least 30 minutes. This hydrates the wood, preventing it from splintering or catching fire when exposed to the intense heat required to blister the vegetables.
Ensure your grill is preheated to at least 400°F (204°C) and the grates are clean and lightly oiled. Place the zucchini rounds directly over the heat and do not move them for at least 4 minutes.
The Ultimate Honey Garlic Chicken & Vegetable Skewers
Summer Grilling Recipes: Honey Garlic Chicken Skewers with Blistered Peppers
Ingredients
Equipment
Method
- Place wooden skewers in a shallow dish of water for at least 30 minutes to prevent burning.
- In a small saucepan, simmer honey, minced garlic, and soy sauce over medium heat until thickened and glossy (3-5 minutes).
- Alternate chicken, red pepper, zucchini, and red onion petals onto skewers, leaving small gaps for airflow.
- Grill over medium-high heat for 4-5 minutes per side until deep dark brown sear marks appear and chicken reaches 160°F.
- Brush the honey garlic glaze over the skewers in the last 2 minutes of cooking until shimmering and the peppers are blistered.
Notes
Apply the honey glaze only at the end to prevent the sugars from burning.
Bring the Heat to Your Next Summer Cookout
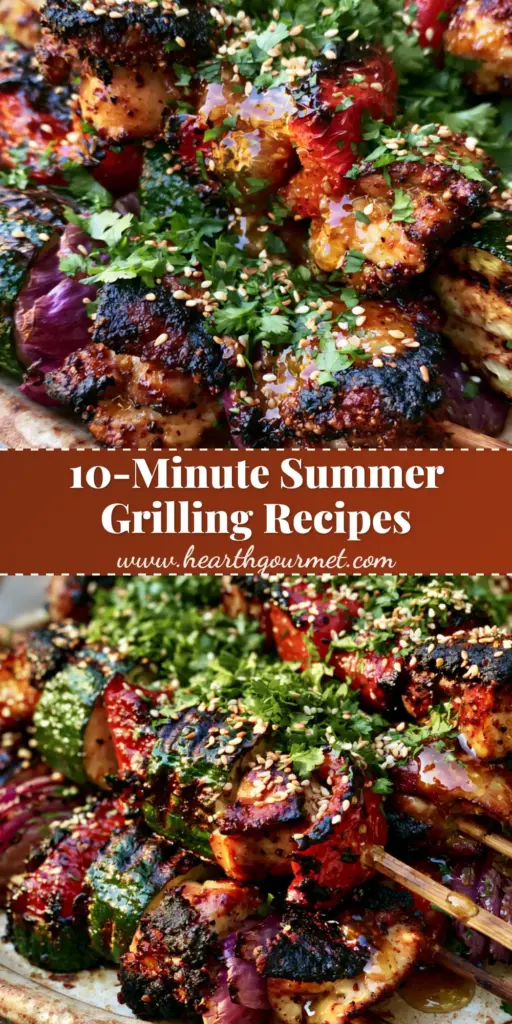
This recipe is more than just a quick dinner; it is a masterclass in balancing sweet, savory, and smoky flavors. By focusing on the visual cues—the blistering of the peppers, the shimmer of the glaze, and the char of the zucchini—you can create a restaurant-quality experience in your own backyard. These summer grilling recipes are designed to be shared, so pile that ceramic platter high and let the compliments roll in.
Did you try this recipe? We would love to see your charred masterpieces! Leave a comment below and let us know your favorite vegetable additions. Don’t forget to save this recipe to your Pinterest boards for your next weekend BBQ!