Imagine sitting at your desk, the clock striking noon, and instead of heading to a crowded breakroom microwave, you simply pop the lid of your premium matte-finish electric lunch box. As the seal breaks, a plume of delicate, fragrant steam rises, carrying the aroma of toasted sesame and savory ginger across your workspace. You aren’t looking at a sad, cold salad or a soggy sandwich; you are looking at a vibrant, chef-quality meal that looks like it was just plated in a high-end kitchen.
The electric lunch box has revolutionized the way we think about the “desk lunch.” No longer are we tethered to the inconsistent heating of communal appliances. Instead, we can enjoy seared teriyaki chicken thighs with deep golden-brown char marks and a glossy, viscous dark amber glaze that remains perfectly saucy, not dried out. This recipe is designed specifically to maximize the gentle, even heating of your portable device, ensuring your jasmine rice stays fluffy and your emerald-green broccoli remains crisp-tender.
Whether you are a busy executive or a teacher with a short break, mastering the art of the electric lunch box meal prep is a game-changer for your daily routine. By focusing on high-moisture proteins like chicken thighs and vibrant, hardy vegetables, we create a lunch that actually improves as it gently warms throughout the morning. Let’s dive into the culinary science of making the perfect portable teriyaki bowl.
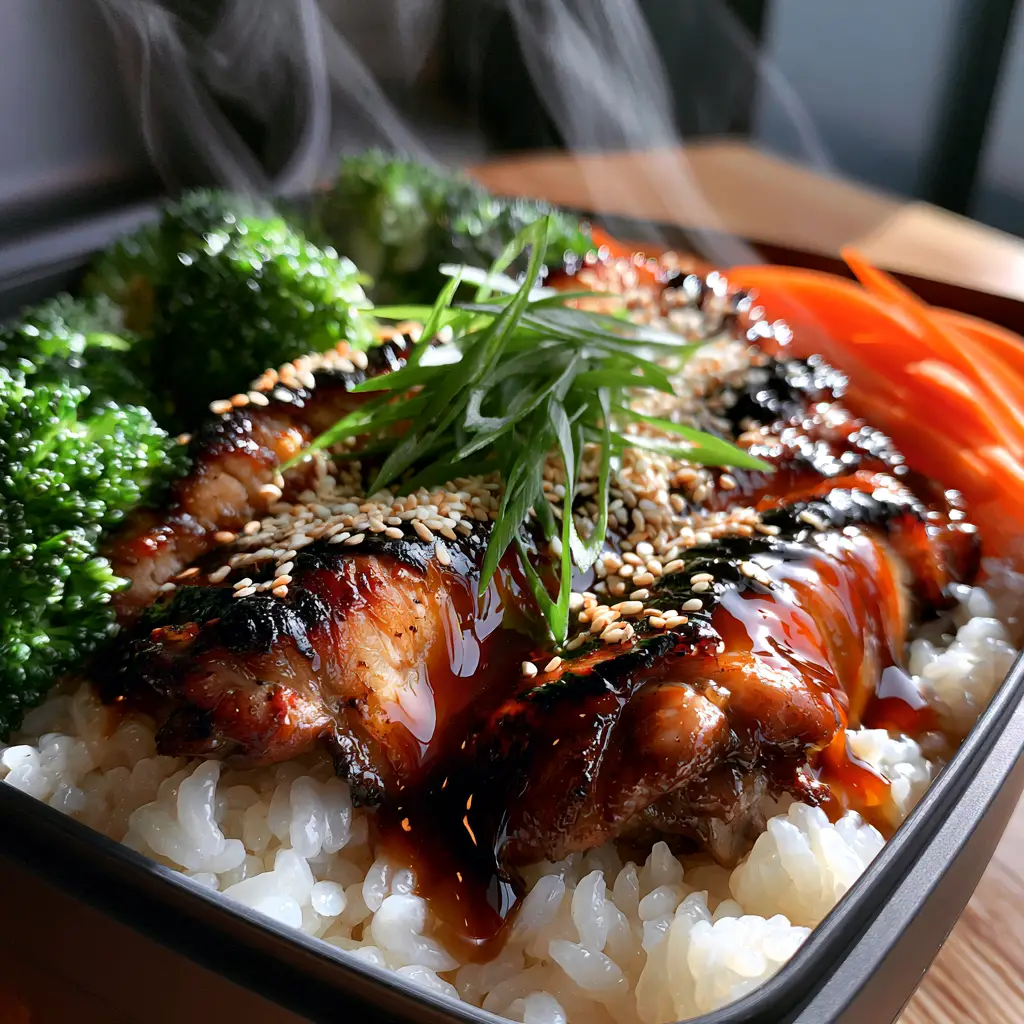
Why This Teriyaki Chicken Recipe Works for Portable Heating
- Retained Moisture: Unlike chicken breasts, which can become woody when reheated, these seared chicken thighs stay succulent and tender inside your electric lunch box.
- Viscous Amber Glaze: The thick, glossy teriyaki sauce is scientifically formulated to coat the meat, acting as a barrier that prevents the protein from drying out during the warming cycle.
- Textural Integrity: We use julienned bright orange carrots and emerald broccoli florets, which are hardy enough to withstand the gentle steaming process without turning to mush.
- Visual Appeal: The contrast between the pearl-white jasmine rice and the deep char marks on the chicken makes this a meal you’ll be proud to open in front of colleagues.
The Foundation: Ingredients for the Perfect Portable Warm Bowl
To achieve the visual and culinary results seen in our electric lunch box blueprint, you need a balance of fresh produce and pantry staples. Each ingredient serves a specific purpose in the structure of the final dish.
Boneless Skinless Chicken Thighs (1.5 lbs / 680g): Thighs offer a higher fat content than breasts, which is essential for achieving those deep golden-brown char marks while maintaining internal juiciness during the reheating phase.
Jasmine Rice (1 cup / 185g dry): This long-grain rice variety is naturally aromatic and remains pearl-white and fluffy. It acts as the perfect absorbent bed for the thick amber glaze.
Fresh Broccoli Florets (2 cups / 150g): Look for tight, vibrant emerald-green heads. These provide the essential “pop” of color and a necessary fibrous crunch to the meal.
Large Carrots (2 medium / 120g): We will julienne these into thin matchsticks. Their bright orange hue adds visual warmth and a natural sweetness that complements the savory glaze.
The “Glossy Amber” Glaze Base: You will need 1/2 cup (120ml) low-sodium soy sauce, 1/4 cup (60ml) mirin, and 2 tbsp (30g) brown sugar. This combination creates the foundation for that viscous, dark amber finish.
Foundational Aromatics: 1 tbsp (15g) freshly grated ginger and 2 cloves of minced garlic. These provide the “rising steam” fragrance that makes your electric lunch box the envy of the office.
Slurry for Thickness: 1 tsp (5g) cornstarch mixed with 1 tbsp (15ml) cold water. This is the secret to achieving the thick, glossy coating that doesn’t run off the chicken.
Garnish Essentials: 1 tbsp (9g) toasted white sesame seeds and 2 thinly sliced scallions. The “razor-thin” scallions add a fresh, sharp bite to finish the dish.
Essential Tools for Professional Office Meal Prep
While the star of the show is the electric lunch box, a few kitchen tools are required to get that restaurant-quality sear before you pack your bag. You will need a heavy-bottomed cast iron skillet or a grill pan to achieve those distinct, deep char marks on the chicken.
A sharp mandoline or a high-quality chef’s knife is necessary for the julienned carrots and the razor-thin green scallions. For the rice, a standard pot or rice cooker works perfectly. Finally, ensure your electric lunch box is clean and the seals are intact to maintain the moisture levels required for the “steaming” effect.
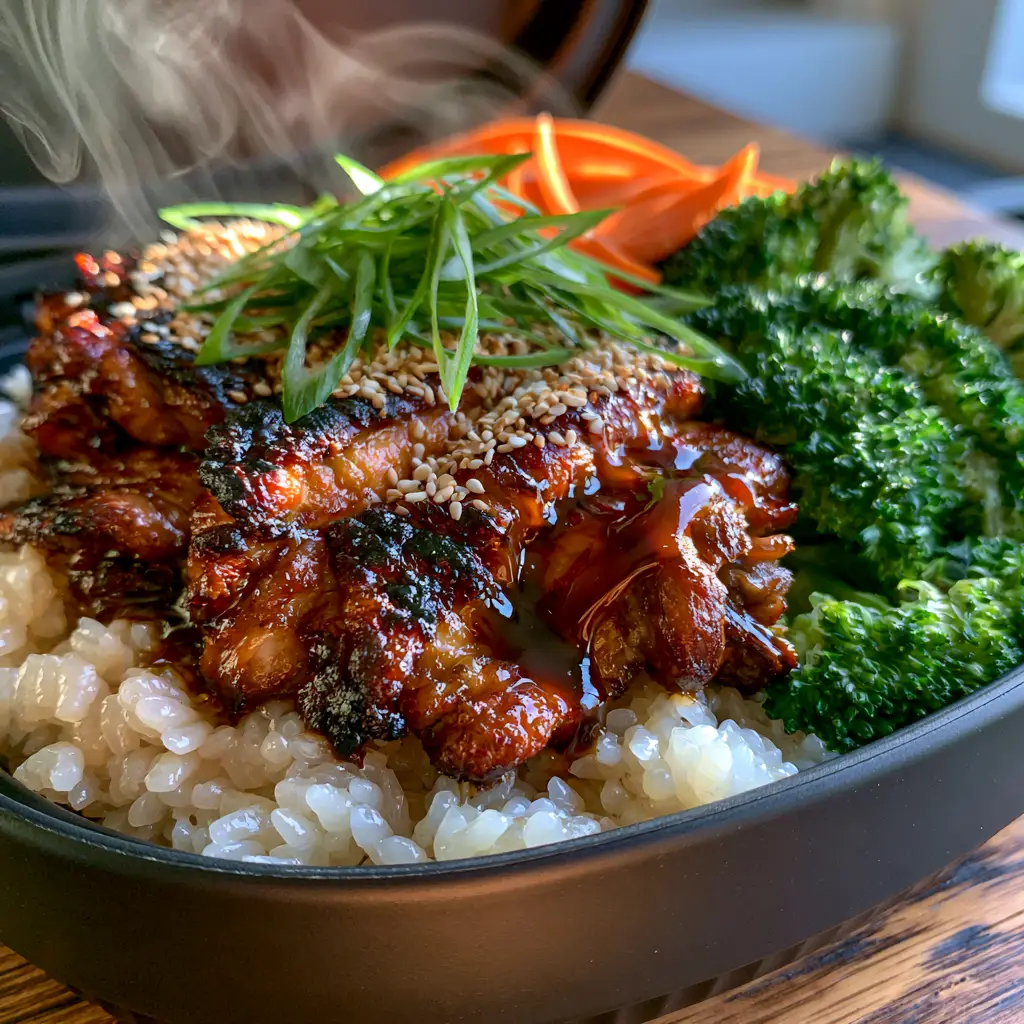
Step-by-Step Instructions for the Ultimate Teriyaki Bowl
1. Preparing the Aromatic Jasmine Rice Base
Rinse the jasmine rice under cold water until the water runs clear; this removes excess surface starch and ensures the rice remains fluffy and individual rather than gummy. Combine 1 cup (185g) rice with 1.5 cups (350ml) water and a pinch of salt. Bring to a boil, then reduce to a low simmer, covering tightly for 15 minutes. Once done, fluff with a fork and let it rest—this creates the “pearl-white” bed for your chicken.
2. Achieving the Perfect Char on Chicken Thighs
Pat the chicken thighs completely dry with paper towels; moisture is the enemy of a good sear. Season lightly with salt. Heat 1 tbsp (15ml) of high-smoke-point oil in your skillet over medium-high heat. Place the thighs in the pan and press down firmly. Sear for 5-6 minutes per side without moving them, until you see deep golden-brown char marks. Remove and let rest before slicing into thick, succulent strips.
3. Crafting the Viscous Dark Amber Glaze
In the same pan used for the chicken, add the ginger and garlic, sautéing for 30 seconds until fragrant. Pour in the soy sauce, mirin, and brown sugar. Bring to a simmer. Whisk in your cornstarch slurry and watch as the liquid transforms into a thick, glossy, viscous dark amber glaze. It should be thick enough to coat the back of a spoon. Toss the sliced chicken back into this glaze to ensure every crevice is covered.
4. Preparing the Vibrant Emerald Vegetables
To keep the broccoli florets emerald-green, blanch them in boiling water for exactly 2 minutes, then immediately plunge them into an ice bath. This “shocks” the vegetables, locking in the color. For the carrots, use your knife to create precise, bright orange julienne strips. These will soften perfectly once they spend time in the portable lunch warmer.
5. Assembling Your Electric Lunch Box
Layer the fluffy rice at the bottom of the matte-finish container. Arrange the glazed chicken slices on one side, showing off those beautiful grill marks. Place the broccoli and carrots adjacent to the meat. Sprinkle a precise dusting of toasted white sesame seeds over the chicken and finish with a spray of razor-thin scallions. Seal the lid immediately to trap the residual heat.
Expert Tips for Success
- Temperature Control: If your electric lunch box has multiple settings, start warming it 30-45 minutes before you plan to eat for the most even heat distribution.
- The Steam Secret: Add one teaspoon (5ml) of water over the broccoli right before closing the lid. This creates the delicate wisps of steam seen in the visual blueprint when you open it.
- Sauce Management: If you prefer extra sauce, pack a small additional container of the amber glaze to drizzle over the rice just before eating.
- Knife Skills: For the scallions, use a very sharp blade and a “slicing” motion rather than “chopping” to get those razor-thin, elegant rings.
Strategic Pairings for a Complete Meal
While this teriyaki bowl is a complete meal on its own, you can expand your office lunch repertoire by pairing it with other hot preparations. For a lighter side, a small portion of garlic butter orzo provides a nice textural contrast to the rice.
If you enjoy a bit of fusion, consider serving this alongside some chicken torta sandwich components for a shared office potluck. For those who prefer a more saucy experience, a side of beef with pasta in creamy garlic sauce can be prepped in a secondary container for a high-protein feast.
Frequently Asked Questions
No, this recipe requires the chicken to be fully seared and cooked beforehand. The lunch box is designed for gentle reheating and steaming, not for primary cooking of raw proteins.
Most inner containers are removable and dishwasher safe. For the matte-finish exterior, a simple wipe with a damp microfiber cloth will maintain its premium look without scratching the surface.
The key is the seal of the box and the moisture from the teriyaki glaze. Adding a teaspoon of water over the rice before sealing helps create steam that keeps the grains pearl-white and fluffy.
Typically, it takes 30 to 45 minutes to reach a safe, enjoyable eating temperature, depending on the density of the rice and the initial temperature of the chicken.
Most modern electric lunch boxes are designed for gradual warming. However, you should only plug it in about an hour before lunch to maintain the best texture and food safety standards.
The Final Electric Lunch Box Teriyaki Chicken Recipe
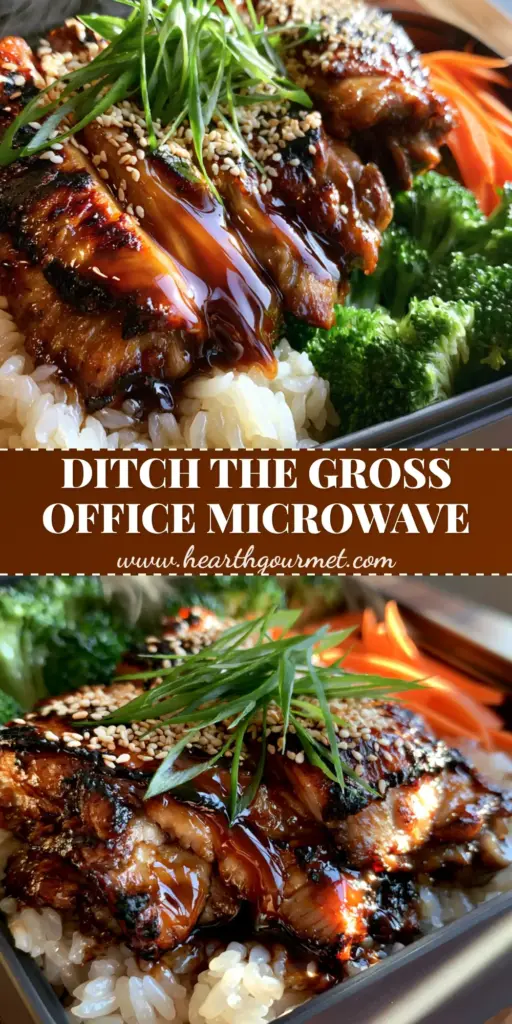
Electric Lunch Box Teriyaki Chicken: The Ultimate Hot Office Meal Prep
Ingredients
Equipment
Method
- Rinse 1 cup (185g) jasmine rice. Combine with 1.5 cups (350ml) water and salt. Simmer covered for 15 mins until pearl-white and fluffy.
- Pat thighs dry. Sear in a hot skillet for 5-6 mins per side until deep golden-brown char marks appear. Slice into thick strips.
- Simmer soy sauce, mirin, and sugar. Whisk in cornstarch slurry until it becomes a thick, glossy dark amber glaze. Coat the chicken.
- Blanch broccoli florets for 2 mins to keep them emerald green. Julienne carrots into bright orange thin strips.
- Layer rice, topped with glazed chicken, broccoli, and carrots. Garnish with sesame seeds and razor-thin scallions. Place in electric lunch box.
Notes
Add a teaspoon of water to the veggies before closing the lunch box lid to encourage steam.
Closing & Call to Action
Mastering your electric lunch box is the first step toward a more delicious and energizing workday. This teriyaki chicken recipe, with its glossy glaze and charred finish, proves that “lunch at your desk” can be a gourmet experience. The combination of succulent protein and vibrant vegetables ensures you stay full and focused until the evening.
Did you try this recipe? We would love to hear how your electric lunch box performed! Leave a comment below or share your beautiful lunch photos with us. Don’t forget to follow us on Pinterest for more meal prep inspiration and portable dining tips!