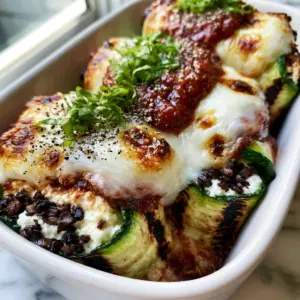
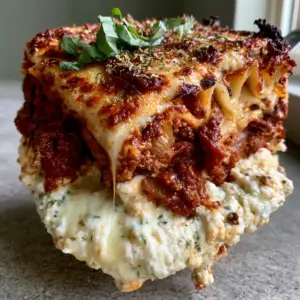
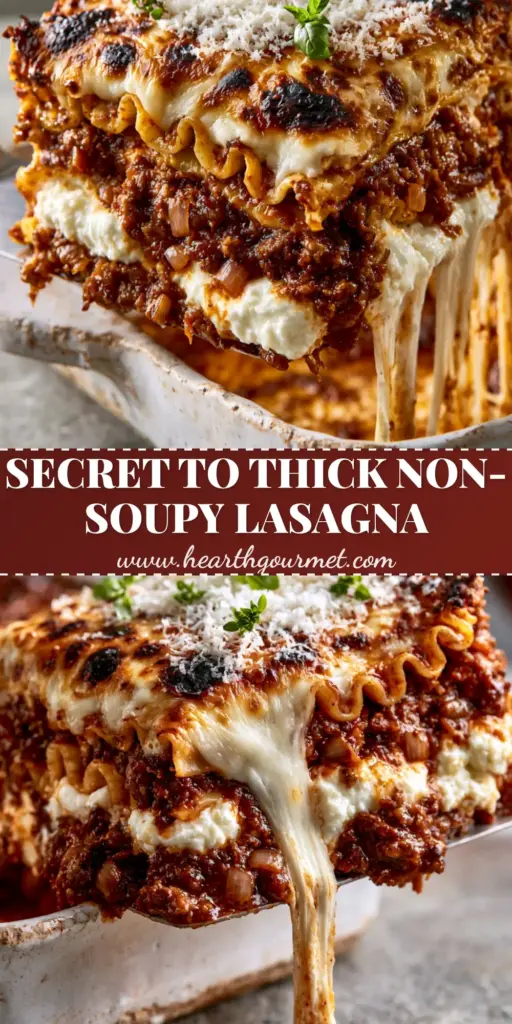
This homemade lasagna recipe is the only one you will ever need to achieve that Pinterest-perfect, sky-high slice. If you have been searching for a dish that features architectural layers, a rich chunky beef bolognese, and a topping of golden brown blistered mozzarella, you have arrived. We are moving beyond flat, soupy pasta and into the realm of professional-grade Italian comfort food that looks just as good as it tastes.
There is something magical about a homemade lasagna recipe that manages to be both structurally sound and incredibly gooey. By focusing on the ruffled pasta edges and a stabilized creamy ricotta layer, we ensure every square slice stands tall on the plate. Whether you are a seasoned pro or looking for an easy lasagna recipe for Sunday dinner, this guide covers every sensory detail.
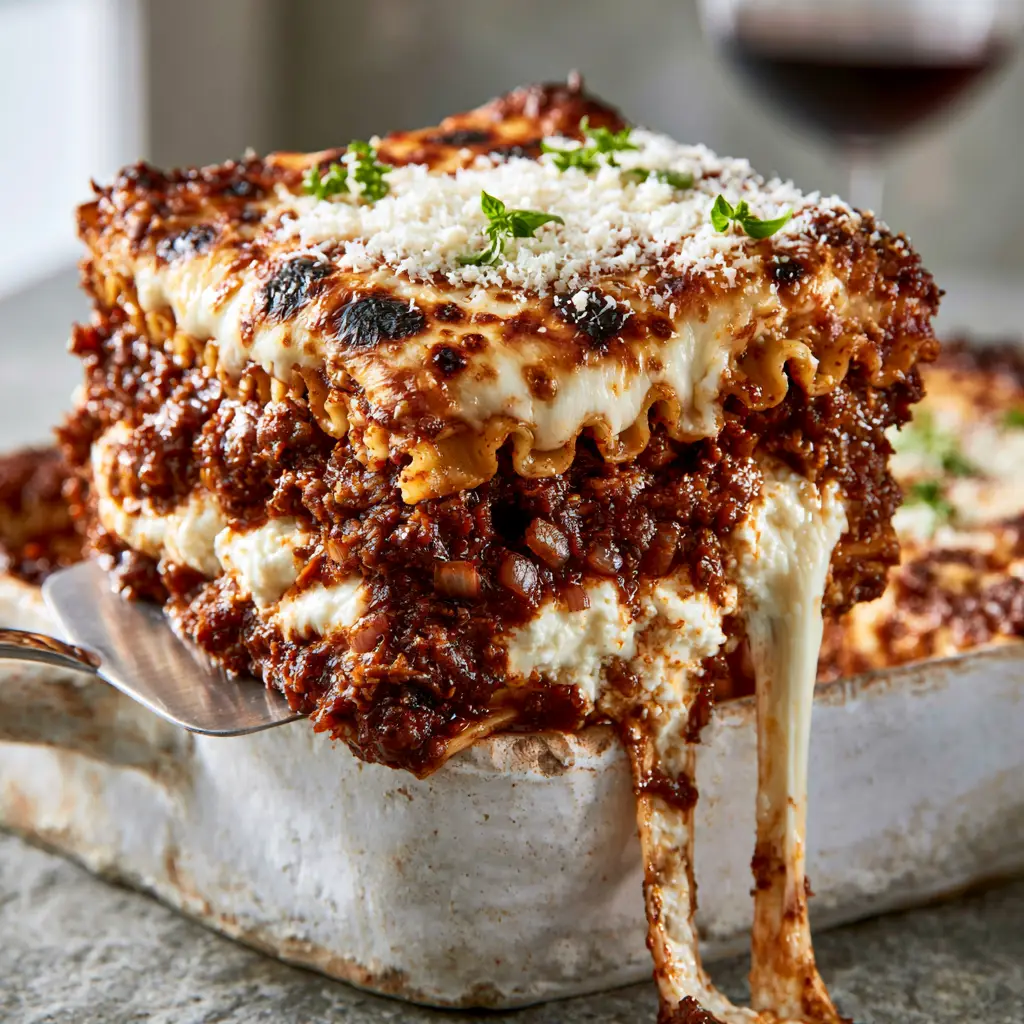
Why This Is The Absolute Best Homemade Lasagna Recipe
- Structural Integrity: No more sliding layers; our method ensures a thick, clean square lasagna slice every time.
- Visual Texture: We use lasagna riccia (ruffled edges) to catch the chunky beef bolognese sauce.
- The Perfect Topping: A specific blend of cheeses creates those iconic golden brown blisters and a long stretchy cheese pull.
- Depth of Flavor: A slow-simmered sauce with visible bits of minced onion and garlic.
The Anatomy of a Perfect Lasagna: Essential Ingredients
To execute this homemade lasagna recipe perfectly, every ingredient must serve a culinary purpose. We aren’t just layering food; we are building a masterpiece of heat, fat, and acid.
The Pasta Foundation
1 box (500g) Lasagna Riccia: Look for the ruffled pasta edges. These ridges are not just for show; they create air pockets that hold onto the sauce, preventing the layers from becoming heavy or dense.
The Hearty Meat Sauce (Bolognese)
2 lbs (900g) Lean Ground Beef: We want a dense and chunky dark red beef bolognese sauce. Searing the meat properly is the first step to deep flavor. If you prefer a variation, you can also check out our meat lasagna variations.
1 large (150g) Yellow Onion: Minced finely. You should see visible bits of minced onion in the final sauce for that rustic, homemade feel.
4 cloves Garlic: Minced. Essential for the aromatic backbone of any lasagna recipe.
2 cans (800ml each) Crushed Tomatoes: Provides the body of the sauce.
3 tbsp (45ml) Tomato Paste: This concentrates the sugars and gives us that dark red color seen in the visual blueprint.
The Creamy White Layers
30 oz (850g) Whole Milk Ricotta: This creates those thick white pockets of creamy ricotta cheese that contrast against the red sauce.
2 large Eggs: Acting as a binder, eggs ensure the ricotta stays in place when you lift the silver serving spatula.
1 cup (100g) Micro-grated Parmesan: Adds a salty, nutty punch to the interior layers.
The Blistered Topping
3 cups (340g) Low-Moisture Mozzarella: Shredded at home for the best melt. This is what creates the melted mozzarella with golden brown blisters.
Fresh Basil: For garnishing with fresh vibrant green basil leaves just before serving.
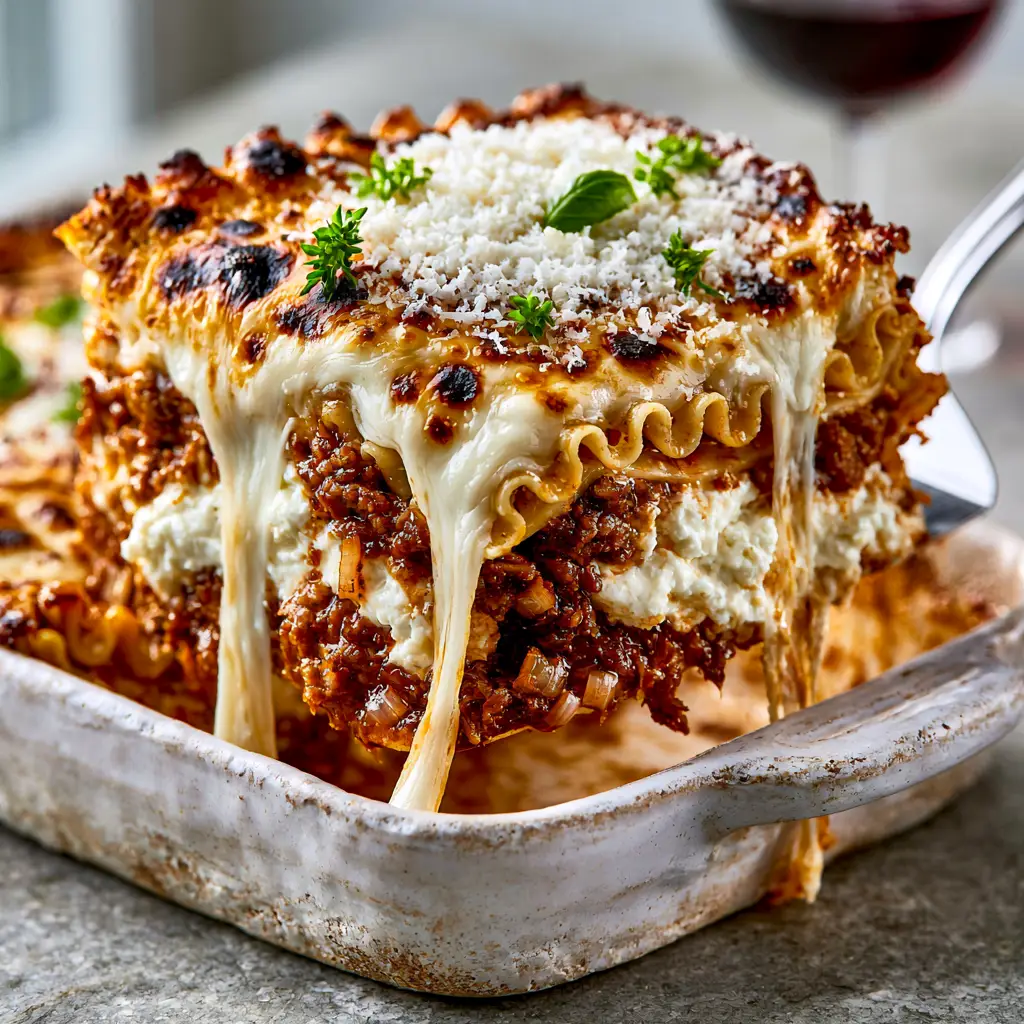
Step-By-Step: Mastering the Art of Layering
Step 1: Developing the Chunky Bolognese
Begin by heating 2 tbsp (30ml) of olive oil in a large pot. Add your ground beef and bits of minced onion. Do not rush this step. You want to hear a loud sizzle, indicating the Maillard reaction is taking place. Cook until the beef is deeply browned and the onions are translucent. Stir in the tomato paste and crushed tomatoes, then simmer for at least 45 minutes until you have a dense and chunky sauce.
Step 2: Preparing the Ruffled Pasta
Boil your ruffled pasta in heavily salted water. Aim for “molto al dente”—slightly firmer than usual. The pasta will finish cooking in the oven, absorbing the juices from the homemade lasagna recipe sauce. Drain and lay the sheets flat on parchment paper to prevent sticking.
Step 3: The Ricotta Stabilization
In a medium bowl, whisk the ricotta, eggs, and half of the micro-grated parmesan flakes. The eggs are the “secret” to getting those distinct, thick creamy ricotta layers you see in high-end restaurant photography. It transforms the cheese into a mousse-like consistency that won’t run.
Step 4: Assembly in the Rustic White Ceramic Baking Dish
Grab your rustic white ceramic baking dish. Start with a thin layer of sauce on the bottom. Lay down your first layer of ruffled pasta edges. Follow with a thick spread of the ricotta mixture, then a generous ladle of the chunky beef bolognese. Repeat these distinct, tall, architectural layers until you reach the top of the dish.
Step 5: The Final Cheese Blanket
Top the entire dish with a heavy layer of shredded mozzarella and the remaining micro-grated parmesan flakes. Ensure the cheese reaches the very edges of the rustic white ceramic baking dish to create those crispy, toasted corners.
Expert Tips for the Perfect Cheese Pull
- The Resting Rule: You MUST let the lasagna rest for 20 minutes before using the silver serving spatula. This allows the thick square lasagna slice to set.
- Broil for Blisters: If the cheese isn’t spotty enough, turn on the broiler for the last 2 minutes to get those toasted dark spots.
- Fresh Garnish: Always add the fresh torn basil leaves AFTER baking to maintain their vibrant green color.
- High-Fat Dairy: Use whole milk ricotta for the most creamy ricotta layers. Low-fat versions tend to become watery.
Storage, Reheating & Freezing
This homemade lasagna recipe actually tastes better the next day as the flavors meld. Wrap the rustic white ceramic baking dish tightly in foil and refrigerate for up to 4 days. For freezing, cut into thick square lasagna slices, wrap individually in plastic wrap, and freeze for up to 3 months.
To reheat, place a slice in the oven at 350°F (175°C) covered with foil until the melted mozzarella is bubbly again. This ensures you still get that long stretchy cheese pull even with leftovers.
What to Serve with Homemade Lasagna
Because this dish is so rich and hearty, you want sides that offer acidity and crunch. A crisp Italian pasta salad is a great starter. Alternatively, a simple arugula salad with lemon vinaigrette cuts through the creamy ricotta layers perfectly. If you want a full Italian spread, consider serving this alongside our caprese dip for an appetizer.
Frequently Asked Questions
Absolutely. You can assemble the entire lasagna, cover it tightly, and refrigerate it for up to 24 hours before baking. This often improves the flavor as the pasta absorbs the sauce.
Yes, for this specific architectural style, boil the ruffled pasta to ‘molto al dente.’ This ensures the edges are tender but the sheets are strong enough to hold the heavy meat and cheese layers.
To avoid a soupy lasagna, simmer your bolognese until it is thick and chunky, and always mix an egg into your ricotta to stabilize the layers. Most importantly, let the dish rest for at least 20 minutes after baking.
Use low-moisture, full-fat mozzarella and a dusting of micro-grated parmesan. If the cheese isn’t browned enough after baking, broil it on high for 1-2 minutes until toasted dark spots appear.
The Ultimate Homemade Lasagna Recipe Card
Homemade Lasagna Recipe: The Ultimate Architectural Meat & Cheese Layers
Ingredients
Equipment
Method
- Brown ground beef and minced onion in a large pot until beef is dark and chunky.
- Add garlic, tomato paste, and crushed tomatoes. Simmer for 45 minutes to develop a thick, dark red sauce.
- Boil ruffled lasagna sheets until molto al dente. Drain and lay flat.
- Whisk ricotta, eggs, and half the parmesan into a stabilized, creamy mixture.
- In a rustic white ceramic dish, layer sauce, ruffled pasta, and thick pockets of ricotta. Repeat until the dish is full.
- Top with mozzarella and parmesan. Bake at 375°F (190°C) for 45 minutes until golden brown blisters appear.
Notes
Use the broiler for 2 minutes at the end for darker toasted spots on the cheese.
Save This Recipe for Your Next Sunday Dinner!
If you loved this homemade lasagna recipe, don’t forget to save it to your Pinterest boards! Following hearthgourmet ensures you never miss a decadent comfort food update. We would love to see your results—upload a photo of your long stretchy cheese pull in the comments below and leave us a 5-star rating if this became your new family favorite!