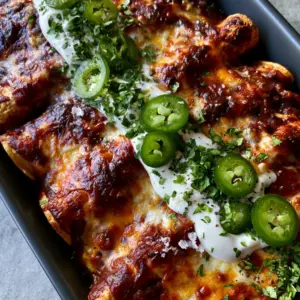
There is nothing quite like a tray of bean and cheese enchiladas fresh out of the oven. Imagine crispy corn tortillas, their edges toasted to a golden-brown perfection, cradling a savory heart of seasoned beans. They are draped in a thick red guajillo sauce that carries a deep, smoky complexity without being overly spicy. The crowning glory? A bubbling, molten layer of Monterey Jack and charred white cheddar that pulls away in satisfying, cheesy strings. If you are looking for the ultimate comfort food that looks as good as it tastes, these bean and cheese enchiladas are your new weeknight staple.
Why These Bean and Cheese Enchiladas Are a Pinterest Sensation
- Texture Contrast: We move beyond the soggy enchilada with a specific flash-fry technique that ensures crispy corn tortillas even under heavy sauce.
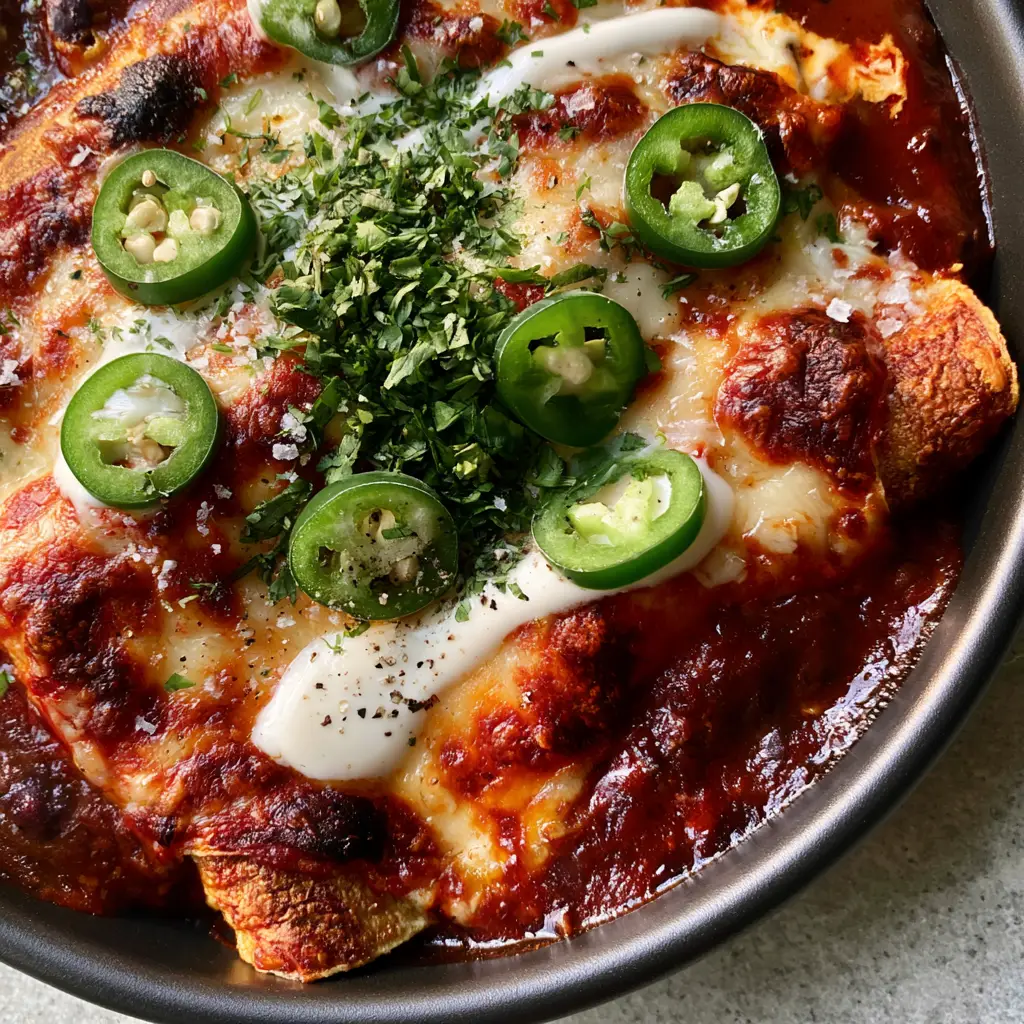
- Visual Masterpiece: The contrast of the deep-crimson red sauce against the white Mexican crema and bright green fresh cilantro makes this dish pop.
- Flavor Depth: By using a blend of molten Monterey Jack for meltability and sharp white cheddar for تلك charred, salty bite, we achieve professional-grade results.
- Simple Ingredients: You likely have these staples in your pantry right now, making it a high-reward, low-effort meal.
When you serve these bean and cheese enchiladas, you aren’t just serving dinner; you are presenting a restaurant-quality experience. The matte charcoal ceramic baking dish mentioned in our visual guide provides the perfect backdrop for the vibrant colors of the fresh green jalapenos and the flaky sea salt finish. This is the kind of recipe that gets saved and shared because it delivers on every sensory promise.
Essential Ingredients for Authentic Bean and Cheese Enchiladas
To achieve the specific look and taste of our Visual Recipe Blueprint, every ingredient serves a culinary purpose. Do not skip the cracked black pepper or the flaky sea salt at the end—they are the secret to waking up the fats in the cheese.
1. Corn Tortillas: You need 12 standard-sized corn tortillas. Corn provides the structural integrity required to get those visible crispy, golden-brown toasted edges.
2. The Bean Base: 2 cans (15 oz / 425g each) of pinto or black beans. We will mash half of them to create a creamy texture that acts as an anchor for the molten Monterey Jack.
3. Deep-Crimson Guajillo Sauce: 2 cups (480ml) of red enchilada sauce. For the best results, use a sauce based on dried guajillo chilies to get that thick red guajillo sauce appearance.
4. Monterey Jack Cheese: 1.5 cups (170g) shredded. This provides the “bubbly molten” quality that home cooks crave.
5. Sharp White Cheddar: 1.5 cups (170g) shredded. Cheddar has a higher oil content which helps create those dark brown charred spots under the broiler.
6. Mexican Crema: 1/4 cup (60ml). This is thinner and sweeter than American sour cream, allowing for that perfect drizzle of Mexican crema.
7. Fresh Garnishes: 1 bunch finely chopped fresh cilantro and 2 thin sliced raw jalapenos. These add the essential brightness and “crunch” to the dish.
How to Master the Crispy Tortilla Technique
The biggest complaint with bean and cheese enchiladas is often that they become a mushy mess. To prevent this, we use a technique called “passing through the oil” (pasar por aceite). This creates a fat barrier that prevents the thick red guajillo sauce from soaking into the tortilla fibers too quickly.
Step 1: Preparing the Bean Filling
Start by sautéing half an onion and two cloves of garlic in a skillet. Add your beans, a teaspoon of cumin, and a splash of vegetable broth. Mash about 50% of the beans with a fork to create a binder. Fold in 1/2 cup (55g) of your molten Monterey Jack to ensure the inside is just as cheesy as the outside. Set this aside to cool slightly.
Step 2: The Flash-Fry for Crispy Edges
In a small skillet, heat 1/4 cup (60ml) of neutral oil. Using tongs, dip each corn tortilla into the hot oil for just 5-8 seconds per side. You don’t want a hard taco shell; you want a pliable tortilla that has visible crispy, golden-brown toasted edges once baked. Drain these on paper towels.
Step 3: Assembly and Saucing
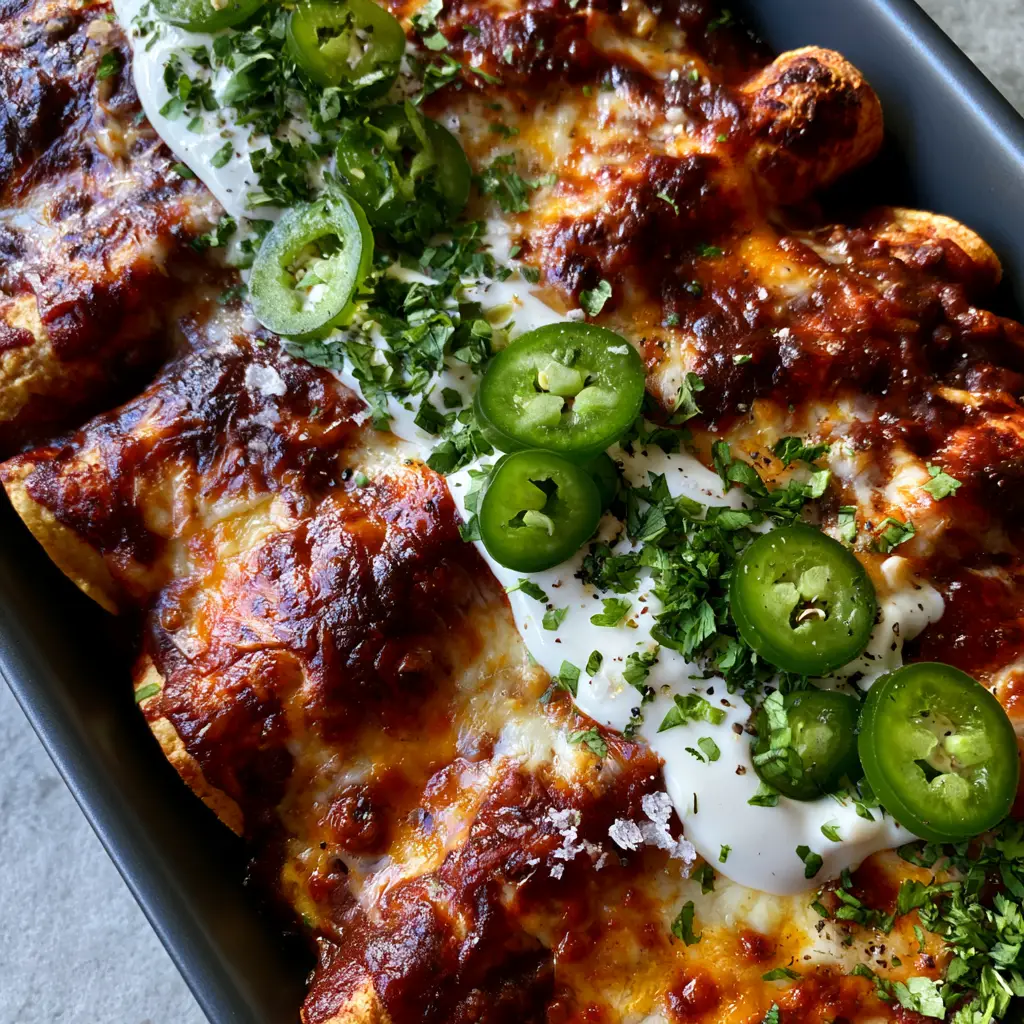
Dip each fried tortilla into a bowl of your thick red guajillo sauce, coating both sides. Place a generous log of the bean mixture in the center, roll tightly, and place seam-side down in a matte charcoal ceramic baking dish. Pour the remaining sauce over the center, leaving the very tips of the tortillas exposed so they can crisp further.
Step 4: The Dual-Cheese Melt and Char
Combine your molten Monterey Jack and sharp white cheddar. Cover the enchiladas heavily. Bake at 375°F (190°C) for 15 minutes. For the final 2-3 minutes, turn your oven to the broil setting. Watch closely until you see dark brown charred spots forming on the cheese surface. This is the hallmark of professional bean and cheese enchiladas.
Expert Tips for Success
- Don’t Over-Sauce: To keep those toasted edges crispy, only pour the thick red guajillo sauce over the center of the rolls.
- Room Temp Cheese: Shred your own cheese from blocks. Pre-shredded cheese is coated in potato starch, which prevents it from achieving that bubbly molten texture we see in the Midjourney Prompt.
- The Crema Drizzle: If your Mexican crema is too thick to drizzle, whisk in a teaspoon of lime juice or milk to thin it out.
- Season at the End: Always finish with cracked black pepper and flaky sea salt after the crema. It adds a professional “finishing touch” that elevates the photo quality.
Storage, Reheating, and Freezing
These bean and cheese enchiladas are excellent for meal prep. Store leftovers in an airtight container for up to 3 days. When reheating, use an oven or air fryer rather than a microwave to preserve the crispy corn tortillas.
To freeze, assemble the enchiladas in a foil tray but do not add the Mexican crema or fresh garnishes. Cover tightly with plastic wrap and foil. They will stay fresh for up to 3 months. Bake directly from frozen, adding an extra 15 minutes to the cook time.
What to Serve With This Dish
To round out this meal, consider serving it with a side of Mexican street corn or a light, citrusy cabbage slaw. If you want more protein, these pair beautifully with grilled chicken or a side of cilantro lime rice (coming soon). For a lighter lunch option, check out our garden fresh salsa (coming soon) to dip the crispy edges into.
Frequently Asked Questions
While you can, flour tortillas tend to become very soft and doughy in enchiladas. For the crispy toasted edges shown in our recipe, corn tortillas are essential.
The secret is to flash-fry the corn tortillas in hot oil for 5-8 seconds before dipping them in the sauce. This creates a barrier that prevents the sauce from turning the corn into mush.
Guajillo chilies are known for their smoky, sweet flavor and deep red color rather than intense heat. This sauce is mild to medium, making it very family-friendly.
Monterey Jack provides the superior ‘bubbly molten’ melt, while White Cheddar has a higher fat content that creates the beautiful dark brown charred spots under the broiler.

The Ultimate Bean and Cheese Enchiladas Recipe Card
Bean and Cheese Enchiladas with Crispy Corn Tortillas and Guajillo Sauce
Ingredients
Equipment
Method
- Sauté onions and garlic, add beans and seasonings. Mash 50% of the beans and fold in 1/2 cup of cheese.
- Flash-fry each corn tortilla in hot oil for 5-8 seconds to create crispy, toasted edges.
- Dip tortillas in guajillo sauce, fill with bean mixture, roll, and place in the ceramic dish.
- Top with remaining sauce and the dual-cheese blend. Bake at 375°F for 15 mins, then broil until charred spots appear.
- Drizzle with Mexican crema, sprinkle with cilantro, jalapenos, sea salt, and cracked black pepper.
Notes
Don't skip the flash-fry step or the tortillas will become soggy.
Share Your Cheesy Creations!
Did you manage to get those perfect dark brown charred spots on your cheese? We want to see! If you made these bean and cheese enchiladas, please save this recipe to your Pinterest boards so you never lose it. Follow hearthgourmet for more visually stunning, high-flavor recipes every week. Leave a 5-star rating below and upload a photo of your dish in the comments—it helps our community grow and inspires other home cooks!