There is nothing quite as restorative as a bowl of homemade chicken and vegetable soup. When you look into a bowl and see a clear, glistening golden-yellow broth reflecting the soft daylight, you know you are in for a culinary treat. This isn’t your average “toss everything in a pot” recipe; it is a carefully constructed masterpiece designed for both visual brilliance and deep, savory flavor.
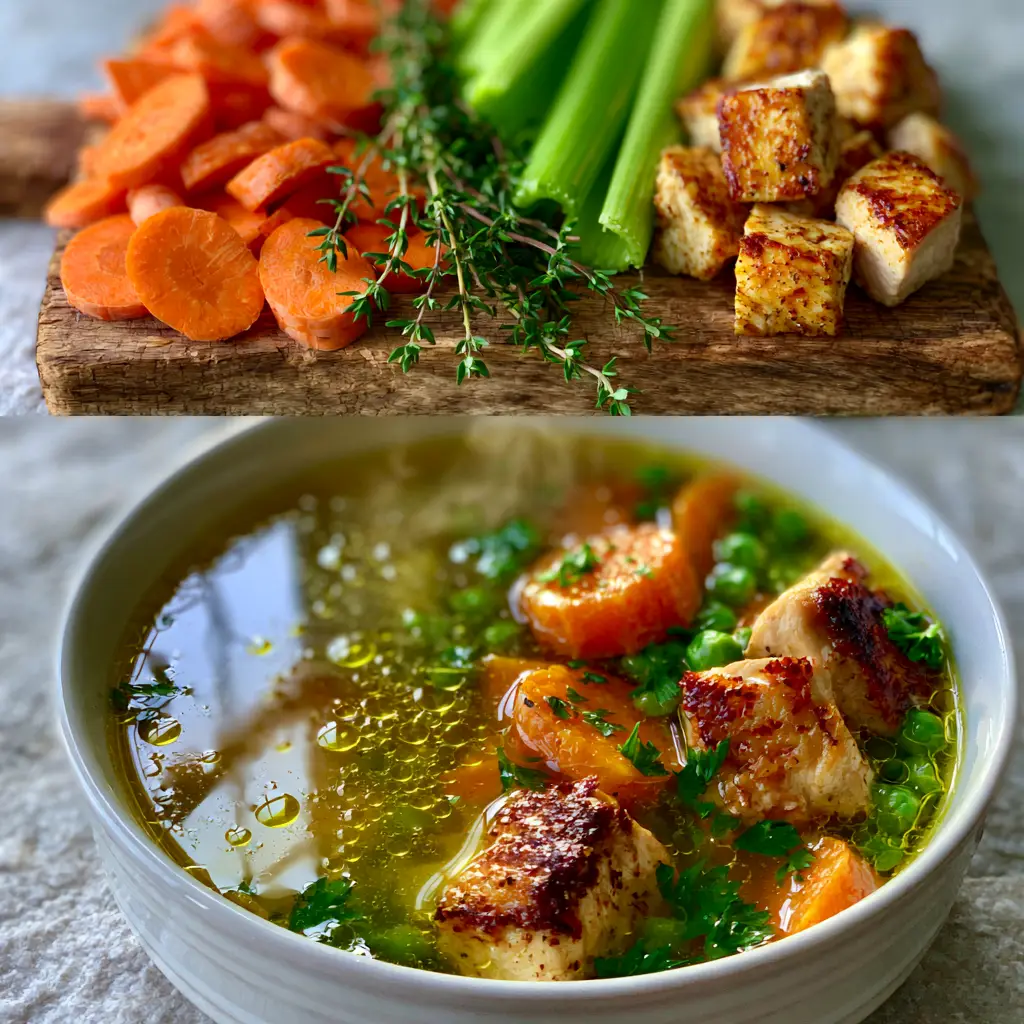
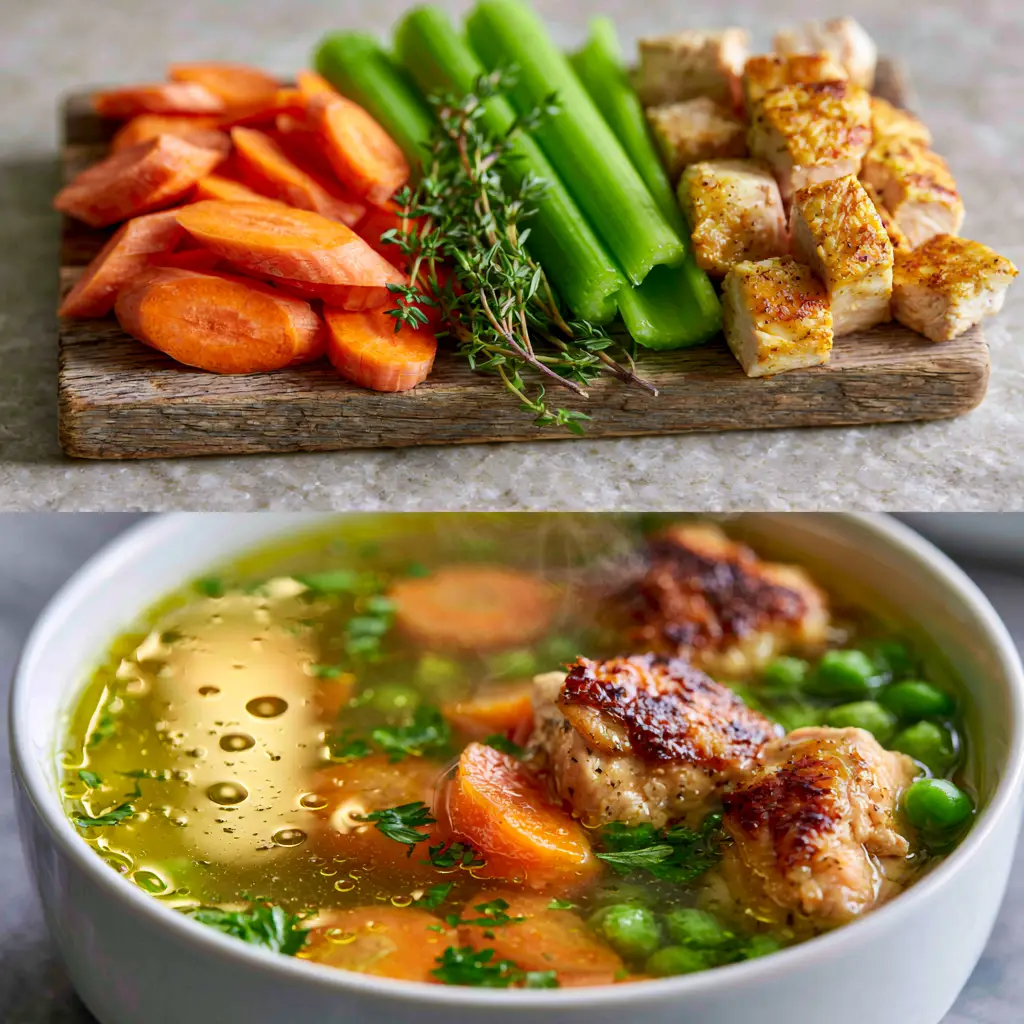
The secret to this specific version lies in the contrast of textures and colors. Imagine tender-crisp vibrant orange carrot rounds, bright green peas, and perfectly seared chicken breast chunks with deep browned edges. Every spoonful offers a balance of garden-fresh vegetables and the earthy, aromatic punch of fresh thyme sprigs and cracked black pepper.
Whether you are seeking comfort on a chilly afternoon or looking for a light yet protein-packed dinner, this soup delivers. We have optimized every step to ensure the broth remains crystal clear while the chicken stays succulent and golden. This is the ultimate guide to achieving that professional, “handheld smartphone photo” quality result in your own kitchen.
The Visual Appeal and Flavor Profile of This Golden Soup
- Crystal Clear Broth: We use specific simmering techniques to ensure a transparent, golden-yellow liquid that highlights every ingredient rather than hiding it.
- Maillard-Rich Chicken: By searing the chicken breast separately, we achieve golden-brown edges that provide a smoky depth often missing from boiled soups.
- Vibrant Garden Colors: Using a staged cooking approach keeps the carrots bright orange and the peas a popping neon green.
- Glistening Fat Droplets: A small amount of high-quality oil and natural chicken fats create beautiful reflections on the surface, indicating a rich mouthfeel.
- Aromatic Herb Infusion: Fresh thyme and flat-leaf parsley provide an herbaceous top note that cuts through the savory richness of the broth.
The Visual Ingredients Blueprint for This Golden Soup
To achieve the exact look of our visual blueprint, every ingredient must be selected for its color and quality. We are looking for the freshest produce to ensure the colors remain “vibrant” and “bright” even after simmering in the pot.
Boneless Skinless Chicken Breast: 1.5 lbs (680g). We cut these into uniform cubes to ensure they sear evenly, creating those essential golden-brown edges seen in the macro shots.
Extra Virgin Olive Oil: 2 tbsp (30ml). This foundational ingredient is what creates the glistening oil droplets on the surface of the clear broth.
Carrots: 3 large (approx. 300g). Sliced into rounds, these provide the “vibrant orange” pops of color that are a hallmark of this classic recipe.
Celery Stalks: 3 medium (approx. 150g). Sliced into thin half-moons, celery provides the structural “green” base and a necessary aromatic crunch.
Frozen or Fresh Sweet Peas: 1 cup (150g). These are added at the very last second to ensure they remain “bright green” and don’t turn a dull olive color.
High-Quality Chicken Stock: 8 cups (1.9L). To achieve a clear golden-yellow broth, use a low-sodium, high-clarity stock or a homemade bone broth that has been carefully strained.
Fresh Thyme Sprigs: 4-5 sprigs. Thyme adds an earthy, woody aroma that complements the chicken perfectly without clouding the liquid.
Fresh Flat-Leaf Parsley: 1/4 cup (10g), chopped. This is our primary garnish, providing “flecks of fresh green” that contrast beautifully against the yellow broth.
Sea Salt and Cracked Black Pepper: To taste. The black pepper should be coarsely cracked to provide visible dark flecks on the surface of the soup.
Yellow Onion: 1 medium (150g), finely diced. While not explicitly highlighted in the visual, it is the invisible engine of flavor that builds the soup’s aromatic foundation.
Professional Tools for Clear Soup Results
To replicate the “knolling” preparation seen on a rustic wooden board, you will need a sharp Chef’s knife. Precise cuts on the carrots and celery ensure they cook at the same rate and look professional in the bowl.
A heavy-bottomed Dutch oven or stainless steel pot is essential for searing the chicken. These materials conduct heat evenly, allowing for a deep golden crust without burning the meat.
A fine-mesh skimmer is your best friend if you want that “clear golden-yellow” result. You will use this to remove any impurities or foam that rise to the top during the initial simmer.
Mastering the Maillard Reaction: Searing the Chicken
The most common mistake in chicken and vegetable soup is boiling the raw chicken directly in the broth. While this cooks the meat, it results in a gray, unappealing texture and can cloud your liquid.
Start by patting your chicken cubes completely dry with paper towels. Moisture is the enemy of the sear; if the chicken is wet, it will steam instead of browning.
Heat 1 tbsp (15ml) of olive oil in your pot over medium-high heat until it shimmers. Add the chicken in a single layer, ensuring the pieces aren’t touching. Let them sit undisturbed for 3 minutes until a deep golden-brown crust forms on the bottom.
Flip the chunks and sear the other side for another 2 minutes. The chicken doesn’t need to be cooked through at this stage; we are simply “locking in” the flavor and creating the visual “browned edges” required for our blueprint. Remove the chicken and set it aside.
Building the Aromatic Base with Mirepoix
Lower the heat to medium and add the remaining oil. Add your diced onions, sliced carrots, and green celery to the pot. This combination, known as a mirepoix, is the soul of the soup.
Sauté the vegetables for about 6-8 minutes. You want the onions to become translucent and the carrots to begin softening slightly, but do not let them brown. We want to preserve their “vibrant orange” and “sliced green” integrity.
As the vegetables cook, use a wooden spoon to scrape the bottom of the pot. Those little brown bits left over from the chicken (the fond) will dissolve into the vegetables, adding immense flavor to the final broth.
Achieving the Perfect Clear Golden-Yellow Broth
Pour in your chicken stock and add the fresh thyme sprigs. Increase the heat to bring the liquid to a gentle simmer. Do not let it reach a rolling boil; high heat emulsifies fats into the water, which leads to a cloudy soup.
Once simmering, you may see a bit of foam rise to the top. Use your skimmer to gently lift this off and discard it. This extra step is what separates a home-cooked soup from a professional culinary result.
Simmer the vegetables for 15-20 minutes until the carrots are “tender-crisp.” They should yield to a fork but still hold their round shape perfectly in the bowl.
The Final Assembly and Texture Calibration
Return the seared chicken chunks to the pot, along with any juices that collected on the plate. Add the bright green peas at this stage. The residual heat of the broth is enough to cook the peas in about 2-3 minutes, preserving their snap and color.
Taste your broth. This is the moment to add your cracked black pepper and salt. Adjust the seasoning until the savory notes of the chicken and the sweetness of the carrots are perfectly balanced.
Remove the woody thyme sprigs before serving. The leaves will have fallen off into the soup, leaving behind their flavor, while the stems are no longer needed for the visual presentation.
Expert Secrets for Culinary Clarity
- The Cold Start: If you are making your own stock for this soup, always start with cold water. This allows the proteins to coagulate slowly and be easily skimmed, resulting in a clearer finish.
- Herb Timing: While thyme is hardy and can simmer, parsley is delicate. Only add the parsley as a garnish at the very end to keep those “flecks of fresh green” looking alive.
- Acid Balance: If your soup tastes “flat,” add a tiny squeeze of lemon juice. The acid won’t make it sour, but it will brighten the “golden-yellow” flavor profile.
- Consistent Slicing: Use a mandoline for the carrot rounds if you want them to look identical, though hand-sliced rounds add to the “rustic wooden board” charm.
Creative Pairings for a Complete Meal
This soup is light and refreshing, making it the perfect partner for various side dishes. For a classic Italian-inspired lunch, serve a bowl alongside a crispy Italian bruschetta topped with balsamic-glazed tomatoes.
If you are serving this as part of a larger dinner spread, it contrasts beautifully with the bold flavors of Mexican chicken adobo or even a simple Mediterranean pasta salad for a mix of hot and cold textures.
For those who love a bit of heat, you might find it interesting to compare this clear version to our more robust spicy chicken soup, which uses a completely different flavor profile. If you have leftover chicken, you can also repurpose it for a copycat Mexican pizza the following night!
Storage and Reheating Guidelines
Chicken and vegetable soup stores beautifully in the refrigerator for up to 4 days. In fact, many people find the flavors even more developed on the second day as the thyme and black pepper continue to infuse the broth.
When reheating, do so over low heat on the stovetop. Avoid the microwave if possible, as it can overcook the chicken chunks, making them rubbery. If the broth has thickened or reduced, add a splash of water to restore that clear, glistening look.
To freeze, omit the peas and parsley. Freeze the base soup for up to 3 months. When you thaw and reheat it, add fresh peas and parsley at the very end to ensure the colors remain as vibrant as the day you made it.
Common Questions About Clear Chicken Soups
Yes, chicken thighs work well and stay very moist. However, they contain more fat, so you may need to skim the surface of the soup more frequently to maintain the clear golden-yellow appearance.
The secret is staged cooking. Sauté the aromatics first, but add quick-cooking vegetables like peas at the very end. Simmer carrots and celery only until they are tender-crisp.
To keep broth clear, never let it reach a hard rolling boil, which emulsifies fats. Instead, maintain a gentle simmer and frequently skim off any foam or impurities that rise to the surface.
The base broth, chicken, and carrots freeze well. For the best visual result, add fresh peas and parsley when you reheat the soup to ensure those vibrant green colors remain intact.
Searing creates the Maillard reaction, which develops deep savory flavors and golden-brown edges. This adds a smoky complexity to the soup that boiling raw chicken simply cannot achieve.
The Ultimate Chicken and Vegetable Soup Recipe
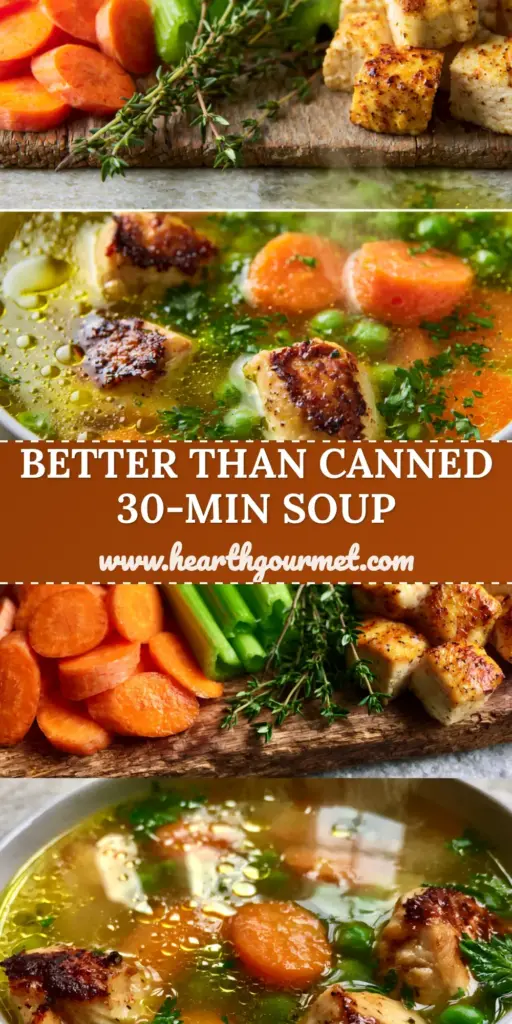
Chicken and Vegetable Soup with Seared Golden Breast and Clear Broth
Ingredients
Equipment
Method
- Pat chicken dry. Heat 1 tbsp (15ml) olive oil in a Dutch oven over medium-high heat. Add chicken cubes in a single layer and sear for 3 minutes until a deep golden-brown crust forms. Flip and sear for 2 more minutes. Remove chicken and set aside.
- Reduce heat to medium. Add remaining 1 tbsp (15ml) oil, onion, carrots, and celery. Sauté for 6-8 minutes until onions are translucent, scraping the bottom of the pot to release the browned chicken bits.
- Pour in the chicken stock and add thyme sprigs. Bring to a very gentle simmer. Use a skimmer to remove any foam. Simmer for 20 minutes until carrots are tender-crisp.
- Return seared chicken to the pot. Stir in the peas and simmer for 2-3 minutes. Season with cracked black pepper and salt. Remove thyme sprigs and stir in fresh parsley flecks before serving.
Notes
Sear the chicken in batches if necessary to avoid crowding the pan.
Closing and Call to Action
Mastering a clear and vibrant chicken and vegetable soup is a fundamental skill for any home cook. By focusing on the Maillard reaction for the chicken and a gentle simmer for the broth, you create a dish that is as visually stunning as it is delicious. The glistening oil droplets and the contrast of green herbs against golden broth make every bowl feel special.
If you enjoyed this recipe, please leave a comment below and let us know how your broth turned out! Don’t forget to sign up for our newsletter for more professional culinary guides. Please share your beautiful soup photos and pin this recipe to your favorite boards on Pinterest so you never lose this golden-yellow classic.